Poppistock/Getty Images
For those of us who mostly approach photography from a point-and-shoot angle, most of the more intricate functions like ISO and shutter speeds tend to get ignored. Especially when using the default iPhone Camera app, which doesn’t include any ISO controls. When getting into more complex photography, though, it’s a basic setting you really need to know. But what even is “ISO” exactly?
Advertisement
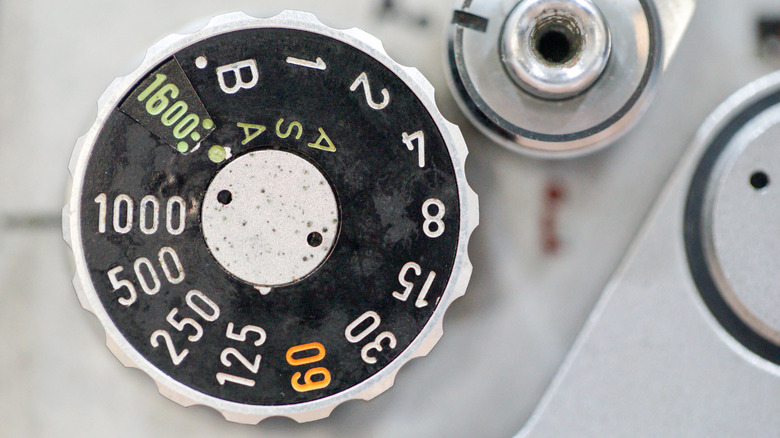
The numbers used to determine ISO values — 50, 100, 200, 400, 800, 1600, 3200, 6400, 12800, and 25600 – were originally established by the International Organization for Standardization, hence the abbreviated letters. Since the 1940s, the organization has mulled over and recommended a variety of standards from health and safety to, of course, photography. Somewhat confusingly, adjusting these values on a film camera requires using a knob that’s usually labelled “ASA” (short for American Standards Association), but despite the drastic difference in naming conventions ASA and ISO are the same thing.
More specifically, a camera’s ISO refers to how sensitive the film or digital sensor is to light, depending on what kind of camera you’re using. Basically, the higher the value, the less light you need for your photos to turn out. Though using the ISO feature in practice is a touch more complicated than simply turning it up or down based on ambient illumination. Moreso when using film.
Advertisement
What ISO actually does

Jena Ardell/Getty Images
In a digital camera, adjusting the ISO will basically (very basically) lead to a lighter or darker image. In actual practice it’s more about finding the right balance to match your shooting environment. If you’re taking photos in a bright, well-lit environment a lower ISO will help to keep a lid on too much light over-exposing the image. If the area is extremely dim, a higher ISO will be more sensitive to the light that is there and should keep things from turning out too dark.
Advertisement
Physical film ISO is tied to both the adjustable knob on the top-left side of the camera and the film itself. Ever wonder why a box of film usually has a number at the end of its name? That’s the film speed but it is functionally the same as the ISO. When shooting with film, the idea is to change the ISO to match the film speed (200 for 200, 1600 for 1600, etc) to ensure proper exposure. You can still shoot with mismatched numbers, but unless you’re experimenting or know what you’re doing, doing this will leave you with a less-than-ideal photo that’s either blown out and over-exposed or much darker than intended.
For the most part it’s best to use the lowest ISO setting (100) for outdoor shots on extremely bright and sunny days. 800 is more ideal for indoor photography while using a flash. 1600 works best when you’re inside with dim lights and no flash. And so on. Though in certain situations, such as trying to capture fast-moving subjects, you’ll have better results when you bump up the shutter speed and increase the ISO by one level (say from 100 to 200), which can help with potential blurring from the motion.
Advertisement
Note: This article have been indexed to our site. We do not claim legitimacy, ownership or copyright of any of the content above. To see the article at original source Click Here


